Watching a chick hatch from an egg is an amazing process, and to be a part of breeding backyard chickens and raising your own flock of hens is a rewarding experience.
There are many reasons why you might want to breed backyard chickens: just for fun; to replace your laying flock; to produce roosters for harvest to the freezer; to make money; to protect and show rare breeds; or just small-scale backyard production.
To raise chicks to adulthood successfully you need some good basic knowledge and skills, and a safe place for your hen to sit and for chicks to be raised.
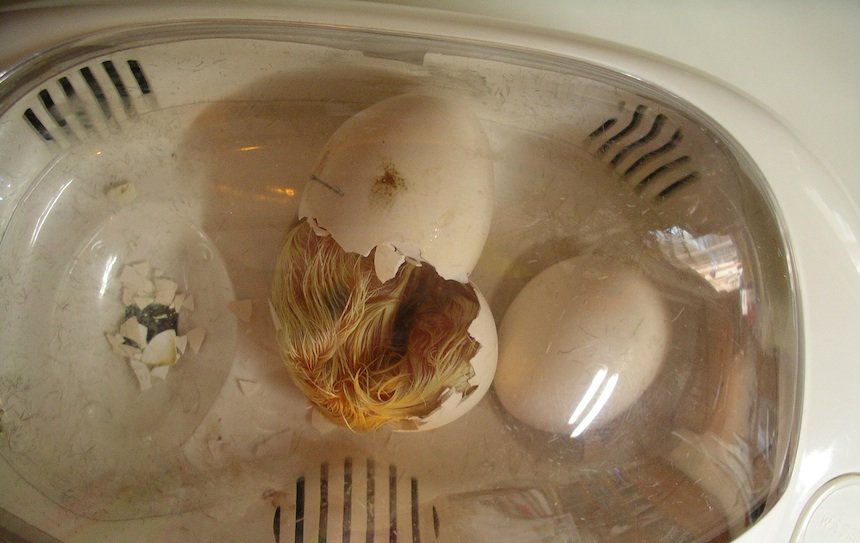
Hatching chicks
There are two main ways to hatch chicks.
You can use an artificial incubator, which provides steady warmth (about 37.5°C) and humidity, and a space for the chicks to hatch. A fully-automatic incubator turns the eggs at regular intervals; otherwise you’ll have to turn them manually, 180 degrees, twice a day.
If you’re planning to buy an incubator, choose the best model you can afford: you get what you pay for. If this is a once-off school holiday activity you may be able to hire a small incubator from the breeder, rather than spending big dollars up front.
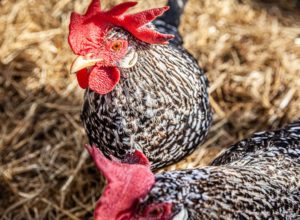
Alternatively, you can place fertile eggs under a ‘broody’ hen. She’ll keep the eggs warm, provide humidity and egg turning instinctively, and usually hatch and raise chicks with very little intervention from you. You can tell when a hen is broody: she will sit tight on the nest, behaving in an unusually grumpy manner, and swear at you in her best chook language.
Sourcing fertile eggs
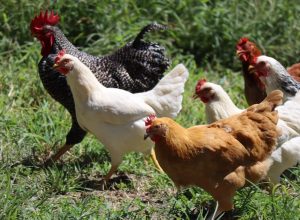
If you’re running a rooster with your hens, and they are all healthy and active, chances are your eggs are fertile. Consider what breed(s) will be in the mix: are they purebred, or will you be producing an odd mix of several breeds?
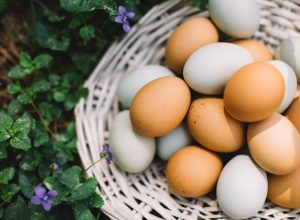
Temperament and health of the parents are important too. Collect and store eggs at cool room temperature (not in the fridge), pointy side down; they can remain viable for two to four weeks before setting.
Alternatively, you can contact a breeder willing to sell you fertile eggs, preferably one not too far away, and choose the breed you would like. Transporting eggs can be risky, and many factors affect the fertility of eggs, so make sure you can go back to the seller for advice.
If using purchased fertile eggs, let them settle for 24 hours, especially if they have travelled in the post. When you have enough eggs (see below), set them under your hen or in the incubator (according to instructions) all at the same time, so that they also hatch at the same time.
Caring for the mother hen
If hatching under a broody hen, there are a few important jobs to do, so that she stays healthy while sitting.
Give her a good dusting with Pestene (sulphur and rotenone) powder to prevent lice and mites. This is a non-organic treatment. There are a range of natural alternatives if you research online but be aware that they will not be as effective or as quick to act.
Hens are more prone to mites while sitting, as these thrive in the warm nest she has made. Dust the rest of the flock too.
In hot weather, make sure she has fresh water close by, and offer her extra treats to maintain her body condition.
Choosing a location for a hen to sit
Chances are a hen will go broody in a nesting box still in use by other hens.
Decide if you need to move her into her own coop. If so, move her in the dark, leaving her to settle before setting the fertile eggs under her.
Setting eggs
When deciding how many eggs to set, perhaps the most important question is what to do with the roosters. Don’t assume you’ll be able to give them away, send them to live on a farm, or just dump them to ‘go free.’ If you hatch them you are responsible for them.
Then, consider how many hens you want to add to your flock of backyard chickens. Take that number, double it to allow for roosters, then add a couple of spares in case some don’t hatch.
Incubation time
It takes 21 days for backyard chickens’ eggs to hatch, 28 days for most duck breeds, and up to 35 days for Muscovy ducks and geese.
Keep an eye on the incubator; some models are more reliable than others. Keep an eye on your hen to make sure she stays sitting on the nest and is in a healthy condition.
Checking egg quality
After about seven to 10 days of incubation you can check the eggs by candling them. Practise on non-fertile eggs first.
Buy a small, bright LED torch. Wait until evening, and carefully remove the eggs from the incubator or nest. Then, in the dark, shine the light through the rounded end of the egg: it will look clear, with the shape of the yolk showing. If the shell is dark it will be more difficult to see.
When you candle a fertile egg you will see a network of veins spreading out from a central dot – this is a good sign that the egg is fertile. Mark the fertile eggs and, if you are confident, throw out any eggs that are not fertile. Return the fertile eggs to the nest or incubator. You can candle again at about 14 to 17 days incubation.
Setting up a brooder box
Chicks require supplementary heat for up to six weeks after hatching. If raised by a hen, she will care for them and provide warmth and shelter (some breeds make more attentive mums than others). Otherwise you’ll need to set up a brooder box to house the chicks.
Food
You’ll need to provide the proper food for chicks. A commercial ‘chick starter’ has the right levels of nutrients for fast-growing chicks. If your chicks are being raised by a hen, provide a mix of chick starter with her layer ration: she will teach the chicks to peck at the small starter crumble, and take the larger size pellets or grains herself.
Make sure there are no water containers the chicks can fall into; hang any adult backyard chickens’ water dispensers above chick height, and provide a shallow water container for the chicks.
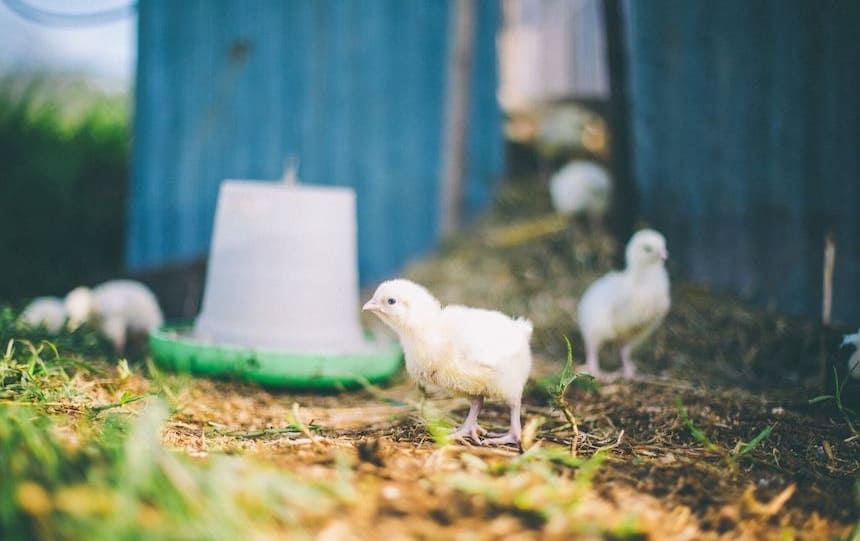
Looking after young chicks
Chicks need fresh water morning and evening, and a regular clean out of the brooder box. One advantage of a cardboard box is that you can upgrade to a clean larger box after two to three weeks, and dispose of the old box (preferably in the compost). By around five to six weeks old the chicks can go outside in the coop during the day in fine weather, then back inside overnight, to acclimatise gradually.
By around two months of age they should be living outside in the coop, with limited free ranging. Unless being raised by a mother hen, house them separately from older hens, as they will get picked on and also need time to develop a mature immune system.
By now you’ll also have a good idea about how many roosters you’ve raised. Decide now what you’re going to do with them, and resist naming any destined for the freezer. The chicks are then ready to move onto the next range of feed, called ‘pullet grower’, along with a small amount of treats, and fresh fruit and other food scraps.
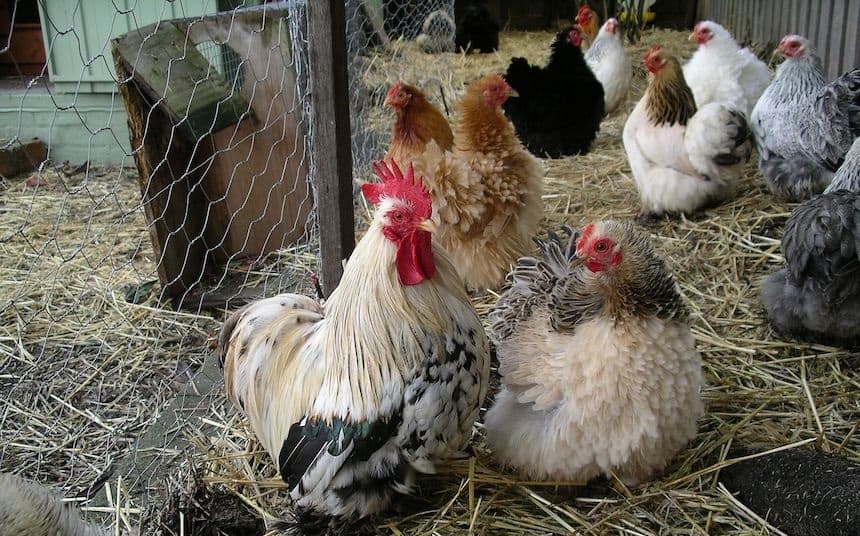
By sixteen to 20 weeks old your chicks are no longer cute little fluff-balls, but approaching their adult size and laying age. Move them on to adult layer-pellets or grains, and integrate them with any older hens… and be prepared for some argy-bargy!
Want to know more about breeding happy chickens?
We’ve got loads of great content about keeping backyard chickens.
Issue #7 of Pip Magazine is our dedicated “chicken” issue, with articles on:
- How to keep your chicken flock healthy.
- A guide to the different backyard chicken breeds.
- Information on how to raise meat chickens.
- Plus, a troubleshooting guide, where we answer all of your questions and dilemmas around backyard chickens.
You can access these articles online here as part of our digital subscription offering.
Also check out our article on designing chickens into the vegie garden from Issue #6 of Pip here.
And don’t forget we have loads of chicken-related content online, including these articles:
- Keeping chickens: A beginner’s guide
- The perfect backyard chicken setup
- How and what to feed chickens
- Animal care: Summer chook care
- A guide to coloured chicken eggs
- Chicken breeds chart
- 7 alternative chicken feed ideas
Like more articles like this one? Subscribe to Pip Magazine’s print or digital editions here.
.