Looking for a way to store your fresh and processed products? We show you how to build your own cool room.
When we bought our 1.2 hectares in Old Warburton, east of Melbourne, Victoria, our aim was to grow the majority of our vegetables and fruit, enabling us to eat fresh food in season and to preserve our requirements for the rest of the year.
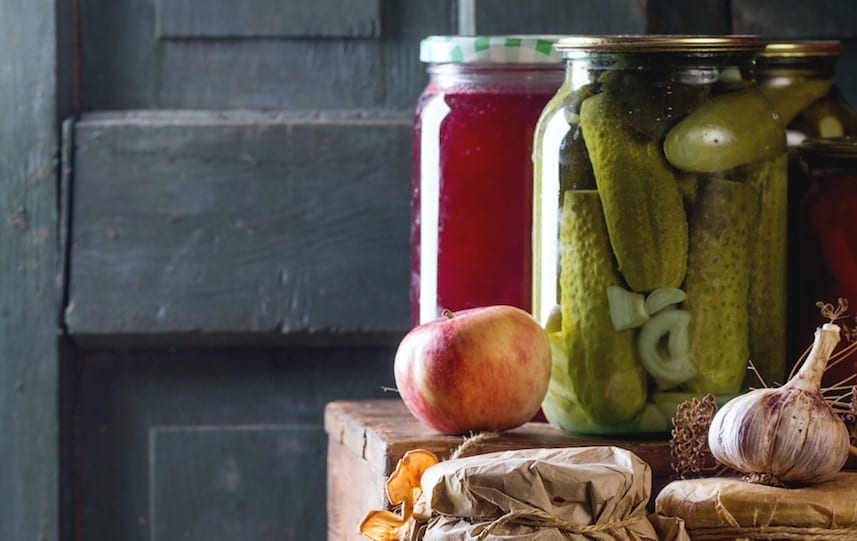
In recent years production reached our target and thus storage became an issue. We needed a cool room: a space designed to store fresh and processed products to eat later.
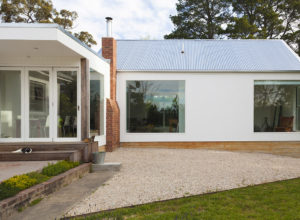
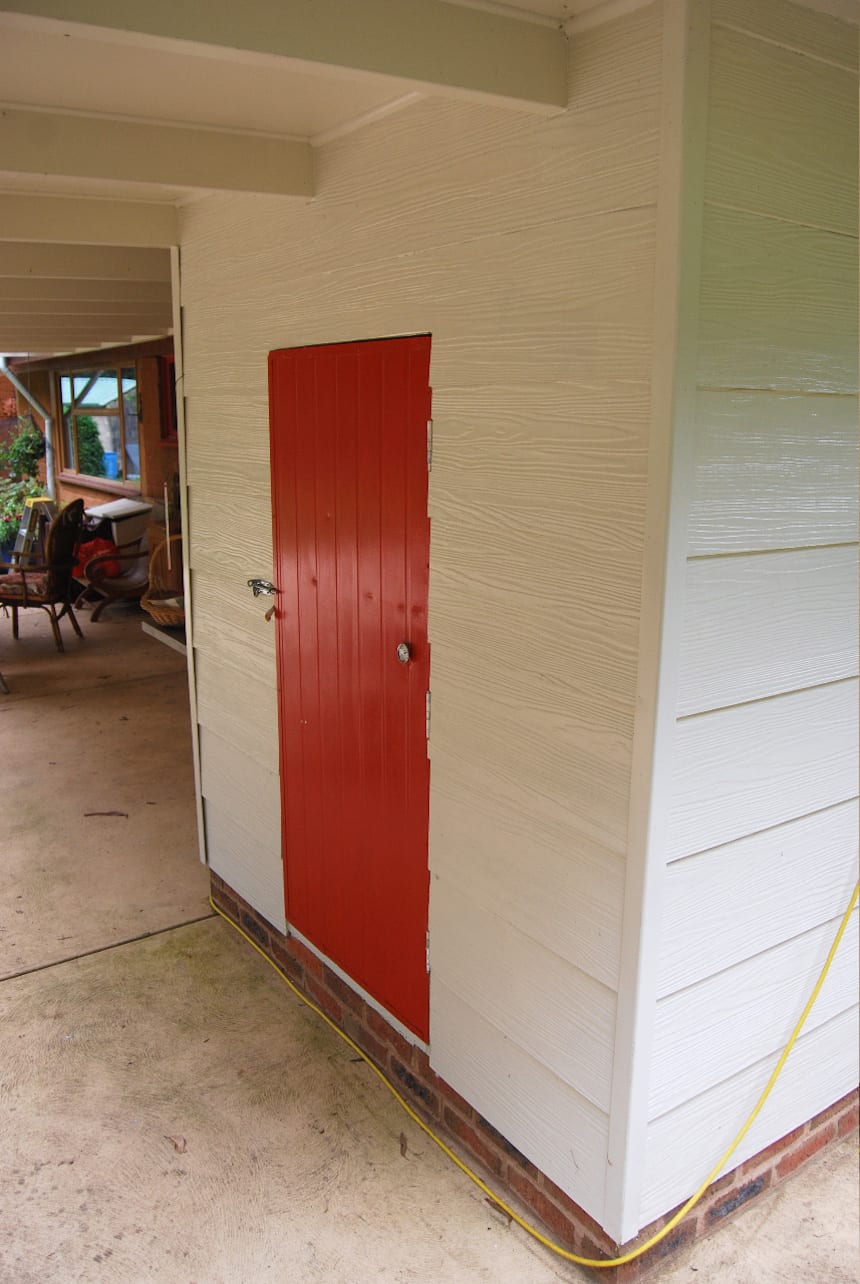
We selected a site under the existing insulated back verandah, incorporating an existing light fixture and using the thermal mass of the rear mudbrick wall of our owner-built house. The walls of our cool room are non-load bearing. The internal shelves are built sturdily.
The materials you will need to build you own cool room
Walls
- bricks
- cement mix
- damp course film
- timber
- insulation batts and foil
- wall sheeting and decorative panels (e.g. fibre cement), and plastic connecting strips
- extruded flexible gap filler
- external vent
- paint (exterior and interior).
Door
- a section of double skinned aluminium insulated material
- L channel, to length for three sides of the door
- adhesive-backed rubber stripping
- door handle
- door hinges.
Shelves
- timber
- fixings
- 2.5 cm steel mesh
- thermometer with long probe.
Construct and build you own cool room
Here is how we went about building our cool room…
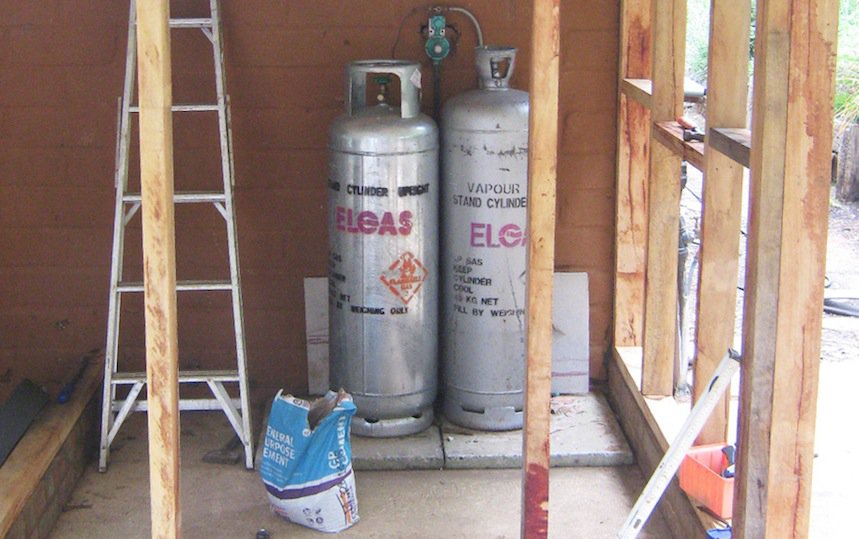
1. Marked out the site.
2. Laid out the bricks in the shape of the room; allowed for two courses, and interlocked the corners. Cemented the bricks into place. (You step over these to enter the cool room.)
3. Placed damp course film on top of the brick courses, between the brickwork and the frame.
4. Measured the distance from the brick courses to the verandah roof – this determines the size of the three timber wall frames; one frame needed to allow for the door.
5. Constructed frames, checking measurements as we placed them.
6. Insulated the wall frames, between noggings, with insulation batts, using insulation foil inside and outside the walls. Lined inside with wall sheeting, using connecting strips. Used decorative panels outside, cut to length and fixed to the frame.
7. Filled in ALL the gaps, inside and out, with extruded flexible gap filler.
8. Cut in and placed the outside vent, high up in an external wall.
9. Painted.
10. Measured and fitted the insulated door. Fixed aluminium L-shaped lip to the inside frame, top and both sides. (The door sits up against this frame.) Attached adhesive-backed rubber to provide a seal.
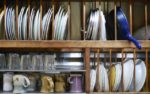
11. Measured and built timber shelves, considering depth and distance between each, to allow for clear vision of stored produce and containers to be used. Installed shelves and fixed to timber frame at several points, ensuring safety. Cut and fixed steel mesh to timber shelf frames, as shelf bases. (Mesh allows ventilation and maximises internal light.)
12. Placed thermometer through the door or wall. (Enables checking temperature without opening the door.)