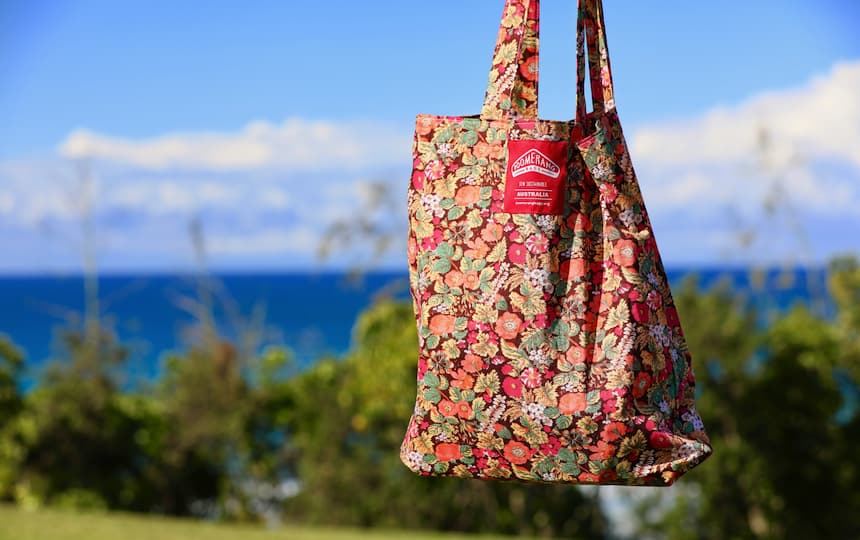
Here’s our easy 8-step guide to making your own reusable boomerang bag.
The aim of a boomerang bag is to minimise the use of plastic by sewing reusable bags from local, recycled materials.
The idea is to get a group of people together, sort through some old fabrics (linen cupboards or op shops are a great place to start), and meet up, with a couple of sewing machines, to make some great, recycled, reusable boomerang bags.
How do you make a boomerang bag?
What you will need:
- Three pieces of fabric (something durable, colourful and washable, matching or contrasting)
- Two handles (adjust the length to the size you prefer)
- One bag shape
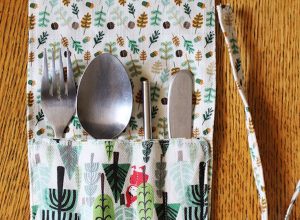
- One calico pocket
- An iron
- Thread and sewing pins
- A sewing machine, and ideally an overlocker.
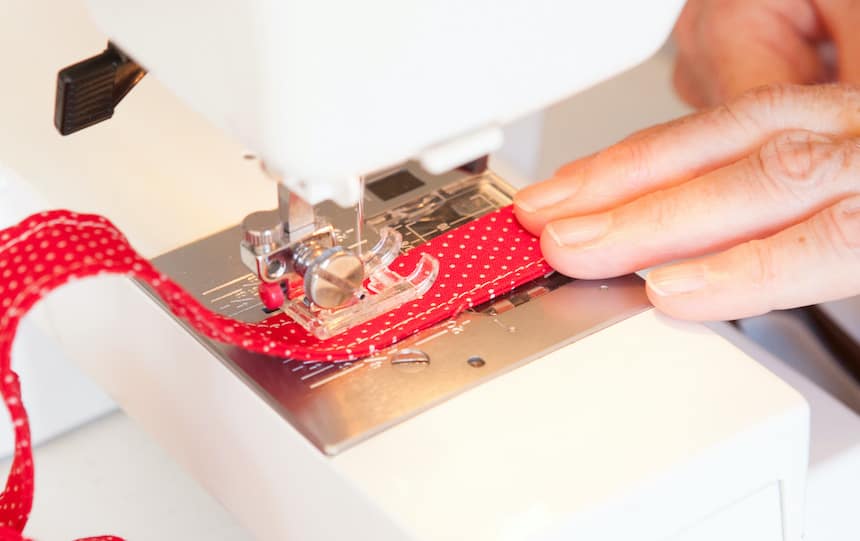
Step 1: Sew the handles
Fold each of the handle pieces in half lengthways, and iron them flat. Open the folded piece and fold each side to the middle crease. Iron closed and make sure that the edges are together evenly.
Sew the open edges of the handle together, and then sew along the closed edge of the handle so that each side of the handle is sewn.
Step 2: Make the calico pocket
Fold three sides of the calico over by one centimetre. Fold the fourth side over twice, and then iron each of the sides flat. With the right side facing down, and the wrong side facing up, sew across the top of the pocket (where you made two folds).
Step 3: Pin the pocket on
With the right side up, pin the pocket onto the bag shape. Make sure it is centred vertically, but is slightly lower than the horizontal centre, so that you leave space for the top of the bag to be folded over when you sew the handles on.
Step 4: Sew the calico pocket
Sew the three sides of the calico pocket onto the bag before you begin your bag side seams (or overlocking), being careful to reinforce each side of the pocket near the top.
Step 5: Sew the sides and base of the bag
Take the bag material, fold it in half with the two short edges coming together to create the bag shape. Pin the material down the sides, leaving the top open: make sure your edges match up.
Turn the bag inside out and edge sew (or overlock) along each of the two sides. If overlocking, make sure you reinforce each side with a straight stitch that runs next to the overlocked edge.
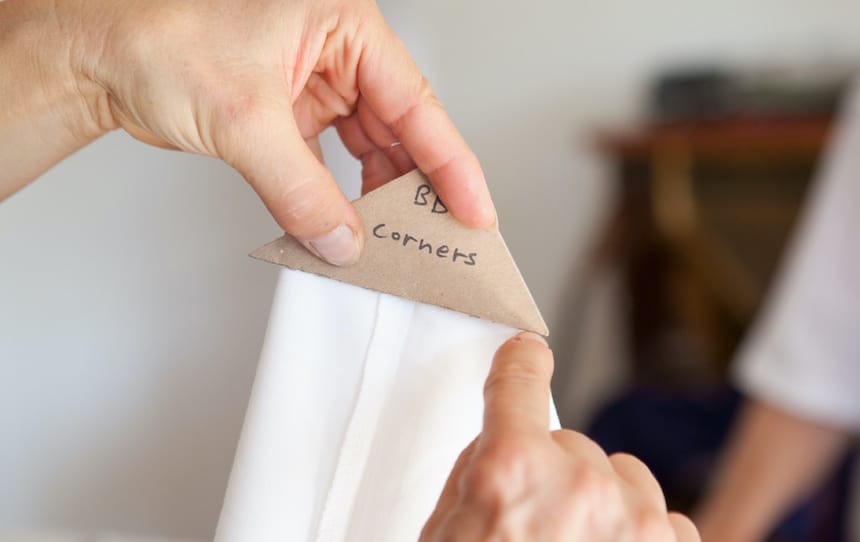
With the bag still inside out, fold it so that you see the corners as triangles with the edge stitching (or overlocking) running through the middle.
Using a small cardboard triangle as your template (so that both corner bases are the same size, sew across eight centimetres), pin the triangles into the corners and then sew and reinforce each of them. This will form the base of your bag.
Step 6: Sew the handles on
Turn the bag the right side out, mark nine centimetres from the seam each side, and pin the handles on the inside of marks. Ensure there is no twist in the handles. Oversew (or overlock) the top of the bag, attaching the handles and making sure the handles are set square to the bag.
Step 7: Finish the bag
Turn the top of the bag down three centimetres, and sew twice around the top of the bag. Trim the threads and give it a once-over. Your bag should now be looking great!
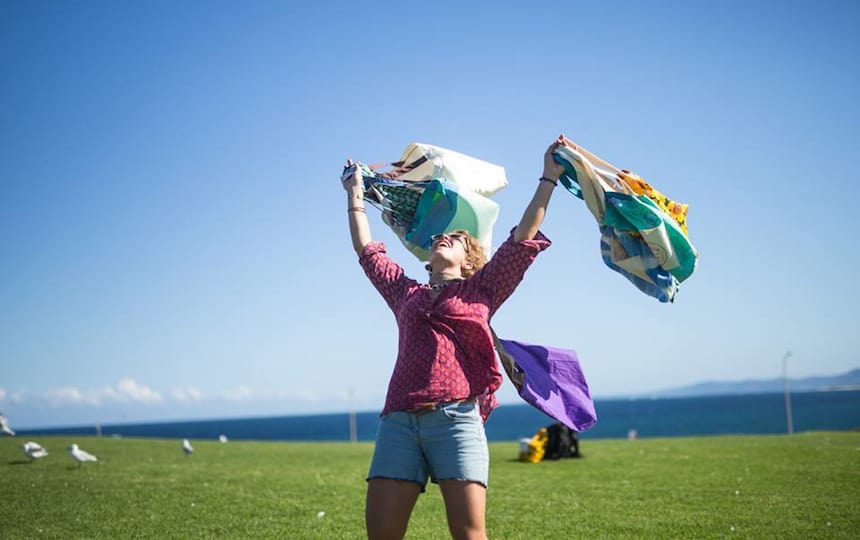
Step 8: Share
Now share the bags around in the community, lend them to friends, give them away as gifts, share them with people in your street, or offer them as alternatives at your local grocery shop.
To find out more about Boomerang Bags, click here.