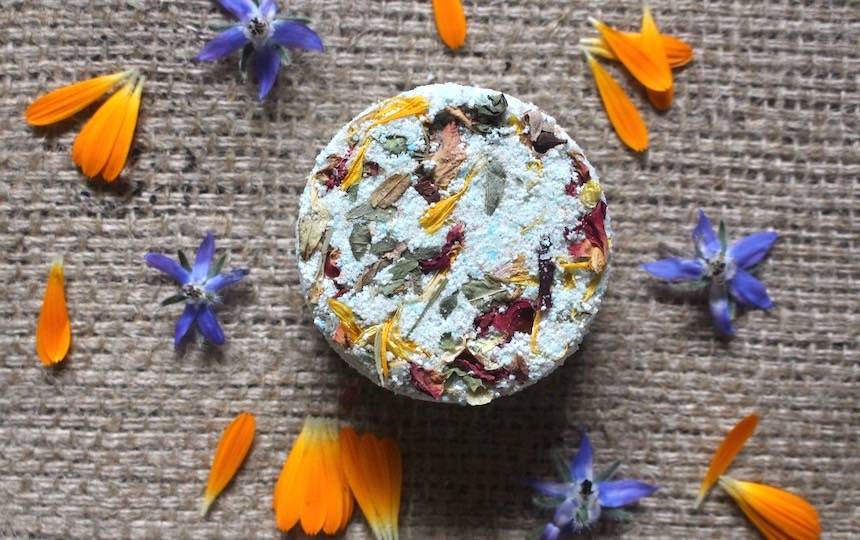
Make your own beautiful zero waste natural bath bombs with our simple recipe.
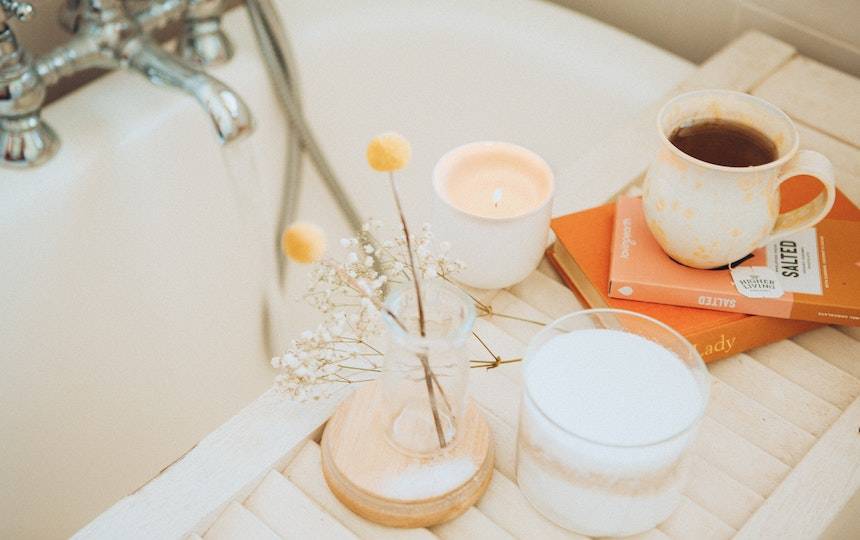
Natural bath bombs are an easy zero waste gift to make for yourself or friends. Not only are baths lovely, but they are clinically proven to have positive impacts on your mental and physical health. And these DIY bath bombs will make the perfect addition to your relaxation bath routine.
That’s because they’re packed with epsom salts (traditionally believed to be a muscle relaxant) as well as essential oils that can boost your mood.
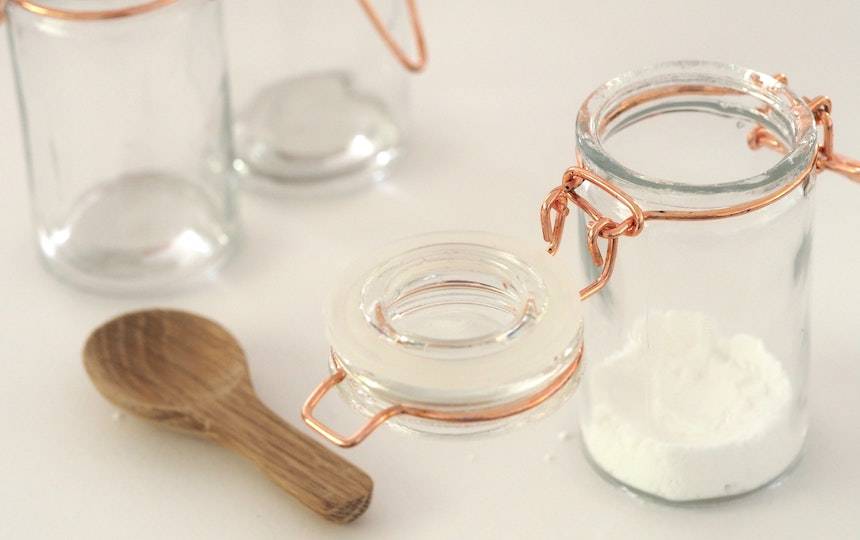
Commercial bath bombs often come wrapped in plastic, with nasty additives like glitter you don’t want to be washing down the drain. But making your own natural bath bombs is so easy! And many of the ingredients are actually pantry staples that you can find package free at bulk food stores.
The process is so simple – and the ingredients so safe – it’s a great activity to do with kids. And perhaps a great encouragement to get them in the bath grizzle-free!
Ready to make your own natural bath bombs?
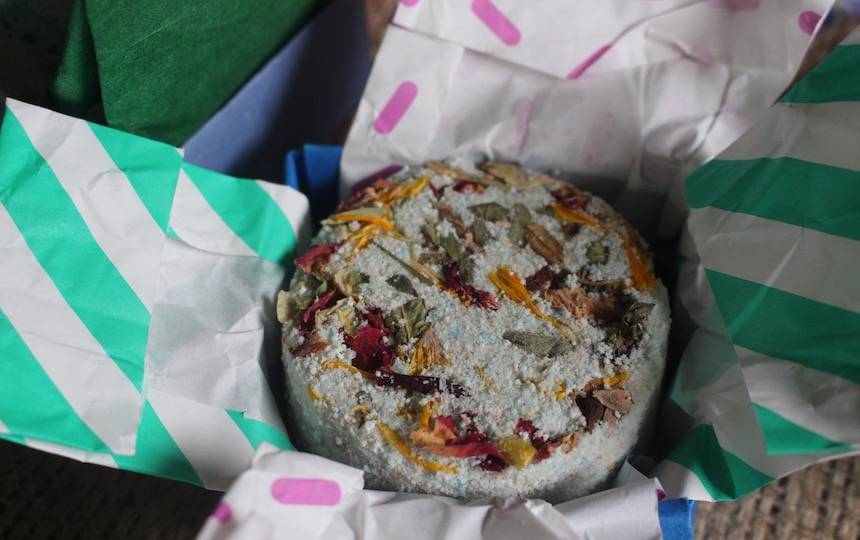
You can fill your bath bombs with your own natural colours and additions from the garden. We love to cover each bomb in beautiful dried flowers and perfume them with natural essential oils for 100% bath luxury.
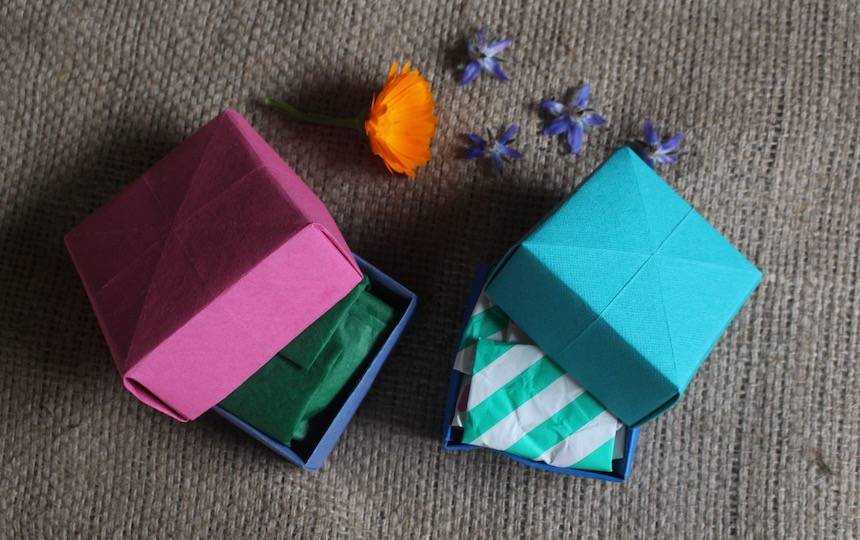
And you can wrap your homemade bath bombs in an upcycled origami box or tissue paper for extra green points. Old book pages and sheet music look beautiful, while vintage sewing patterns and toilet paper wrapping are a great source of upcycled tissue.
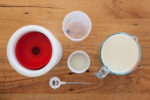
Ingredients:
- 1 cup bicarb soda
- 1/2 cup citric acid
- 1/2 cup epsom salts
- 2 tbsp coconut oil (melted)
- Handful dried flowers from the garden (borage, calendula, dandelion and rose petals are all bright and colourful options)
- Natural colours (see notes below)
- Essential oils
Equipment:
- Bowls
- Silicone baking mould
- Scrap papers for wrapping
A note on natural colours and scents
This recipe works best with dry powdered colours. You can purchase these as natural food colours, or make your own, but beware – food dyes can stain your bath.
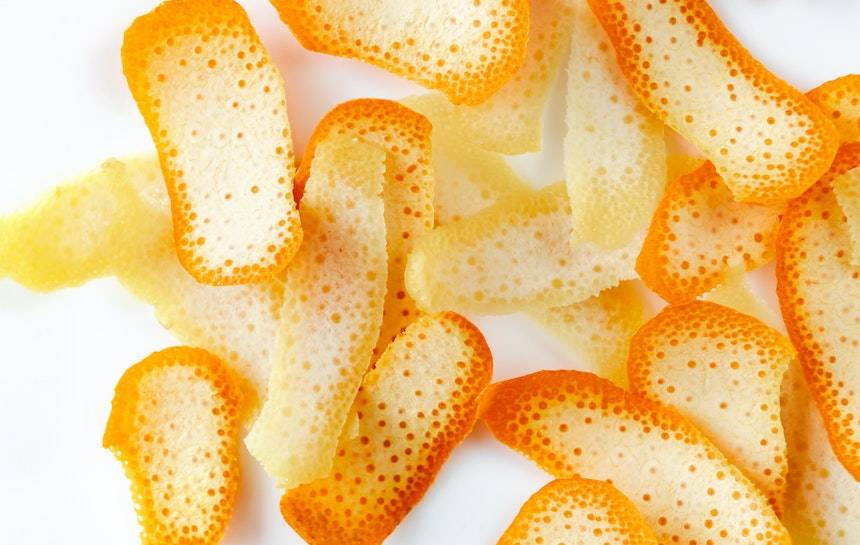
Alternatives to food dyes include dried powdered lemon and orange peel. These look and smell gorgeous in a bath bomb and use up kitchen scraps. You can dry peels in an oven or dehydrator, then grind to a powder easily in a coffee or spice grinder.
Other DIY ideas to add colour and texture to your bath bombs include cacao powder, kelp powder, poppyseeds or turmeric (watch out for the latter though, it can stain your bath!).
Or you can just keep your bath bombs a stunning white, and decorate with lashings of dried flowers and scented leaves like mint, lemon balm and cinnamon myrtle.
To up the olfactory factor you can add natural essential oils too. Some natural essential oils that smell divine and promote relaxation include lavender, geranium, sandal wood, orange and jasmine.
How to make bath bombs
To dry flowers or leaves, put petals on a wire cooling tray and leave in a warm place for 24-48 hours until they are crisp to the touch. To speed up this process up you can pop them in the oven or dehydrator at 65 degrees celsius for 20-30 minutes (ensure you turn them half way through).
Mix the bicarb soda, citric acid and epsom salts together in a bowl. Melt the coconut oil and add five to 10 drops of your favourite essential oils, stirring into the oil well. Slowly add the coconut oil mix to the dry ingredients a teaspoon at a time, mixing it in with your hands.
If you start to see lots of fizzing it’s time to slow down! Once mixed through it should have a sandy consistency, but hold together when squeezed in your palm. If it won’t hold together, add water a few drops at a time until the right consistency is achieved.
Mix through dry-colouring if desired at this point
Scatter dried flower petals in silicone moulds. Press bath bomb mix into each mould until full and compacted. Leave to dry at room temperature for two days to ensure they are well set. Turn out of silicone moulds.
Wrap in origami paper boxes or upcycled tissue paper, or store in an airtight container for longer keeping.